
Aviassembly Beginner Guide: Your First Plane and Route
Start Aviassembly the right way: a first plane that actually carries cargo, the missions worth taking, and the three mistakes that stall new players.
The first session of Aviassembly is a trap disguised as a tutorial. The default plane flies, the mission board pays, and everything feels solved — until the board asks for a load your aircraft cannot lift and you realise you have no idea which parts to change.
This beginner guide covers the opening properly: what to fly, what to build, what to spend scrap on, and the habits that keep paying off for the rest of the campaign. It assumes you have just finished the first two deliveries and are staring at the build screen wondering what matters.
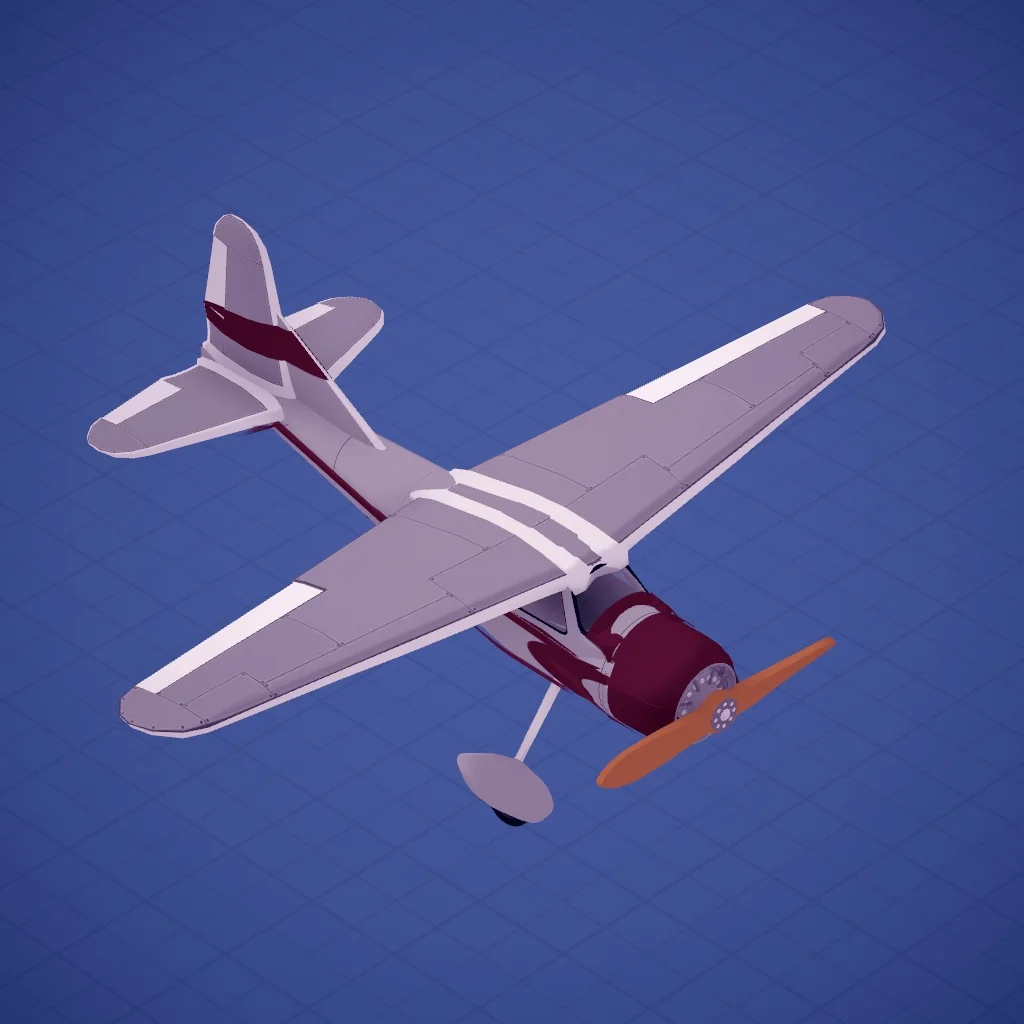
Fly before you build
The single most useful hour you can spend is flying the stock aircraft on short routes. Not because the stock plane is good, but because it establishes the baseline you will compare every build against.
On those first hops, watch three things:
- Takeoff distance. Note roughly how much runway the default plane needs at full cargo. That number becomes your reference point every time you add weight.
- Fuel burn at full throttle. Fly one route at full power, then fly it again at 70% and compare the gauge. The difference is larger than most players expect.
- Landing speed. The game is forgiving, but you want to feel where the plane stops responding to pitch and starts dropping.
Once you can predict those three numbers, the editor stops being guesswork.
The first real build
The goal of your first custom aircraft is not speed or beauty. It is a plane that can carry one bulky load and one heavy load without drama. That means three priorities in order: wing area, cargo room, then engines.
Wings. Lift comes from wing surface. Two wings are not automatically better than one large one, but they are cheaper in scrap and easier to place around a fat fuselage. Watch the strength rating: a wooden wing fails at 225 m/s, which is fine for cargo work and fatal if you decide to dive.
Cargo room. Cargo is measured in litres, not kilograms. A load of wood logs takes 120 litres; a load of small batteries takes 10. Build the hold for the bulkiest thing you plan to carry, then check that the plane still climbs.
Engines. The starting engines are adequate. Do not buy a jet because it looks faster; a jet that drinks fuel at full thrust will strand you on a 40 km delivery with an empty tank and no runway underneath.
A flat fuselage with two wings, one cockpit and a single cargo bay will out-earn a stylish plane that carries half as much. Aesthetics are free later, when coins stop being the constraint.
The part-by-part reasoning is on the parts page→, and there is a full shopping list for the opening in the best early plane guide→.
Which missions to accept
The mission board shows distance, cargo and reward. Ignore distance first and look at what the load actually is.
Early on, take light, bulky cargo: tools, small batteries, medicine. These fill your hold without pushing your takeoff weight, so a modest plane can complete them. Leave stone, steel and anything described as heavy for later, even if the reward looks tempting — a failed landing costs you the cargo and the time.
Two other rules matter:
- Chain missions on the same island. The board often offers several jobs from the same airport. Completing them in one session saves repeated flights, and mission rewards include scrap, which is the thing you actually need.
- Land everywhere. An airport only reveals its mission board after you touch down. Some airports never sell cargo at all and exist purely to hand out work, which makes them easy to skip.
How to spend your first scrap
Scrap unlocks parts. The temptation is to buy the biggest cockpit or the fastest engine; the better order is:
- A larger cargo hold, so you can accept better-paying jobs.
- A stronger wing, so the extra weight does not kill your climb rate.
- A second engine, once weight rather than power is your limit.
- Research access, which turns scrap into the parts that make the desert possible.
Nothing you unlock is wasted, but the order determines whether your third hour is spent flying or re-building.
What actually kills new players
Stalling on approach. The plane does not warn you until it is too late. Keep speed above the point where the nose stops responding, and approach high rather than fast.
Running out of fuel over water. Fuel is a function of time at thrust, not distance. If a route crosses open sea, either add tank or throttle back; there is no emergency landing on water without pontoons.
Building wider than the runway. A plane with a huge wingspan can be impossible to land at the small strips, including the ones you need for progression.
Ignoring the cargo market. The market tells you what each airport sells and what it pays. Reading it before you fly is free information.
The route out of the opening
Once you can complete a heavy Grasslands delivery without touching down hard, you are ready for snow. Snow missions pay better and hand out scrap per delivery, which accelerates everything. Desert is the third step, not the second: its cargo is heavy, its distances are long and its rewards assume a plane with real payload capacity.
The full progression guide→ maps the whole curve, and the career money page→ covers which routes are worth repeating once you have the aircraft for them.
FAQ
Do I need to research before my first build? No. The starting parts are enough for the first several deliveries. Research becomes necessary when you want to reach the desert or carry the heavier cargo types.
Should I sell cargo or complete missions? Do both. Missions pay coins and scrap, and the cargo market pays coins for goods you carry between airports. Mission scrap is the reason to prioritise the board early.
How do I make a plane that takes off from water? You need pontoons, which arrive with the seaplane parts. Without them, water is a crash, not a runway.
Official source: Steam store page ↗ and patch notes ↗; in-game values checked on version 1.0.
Related Guides
- Best Early Plane→ — the opening designs worth copying.
- Parts→ — what each part does to your numbers.
- Cargo→ — the loads behind every early mission.
- Complete Guide→ — the whole game in one page.
Version details and patch notes come from the official Steam page ↗, the news feed ↗ and the community hub ↗.