
Aviassembly Plane Designs: Blueprint Patterns That Work
Six Aviassembly plane designs explained as reusable patterns, from high-wing haulers to twin-boom explorers, with the trade-offs behind each layout.
Every aircraft in Aviassembly is a stack of the same parts, so the difference between a design that flies well and one that fights you is layout. Where the wing sits, how the mass is distributed, how many engines you trust — those decisions matter more than the specific parts you unlocked.
These six patterns cover almost every mission in the game. Treat them as blueprints rather than exact builds: your parts list will differ, but the geometry and the reasoning carry over.
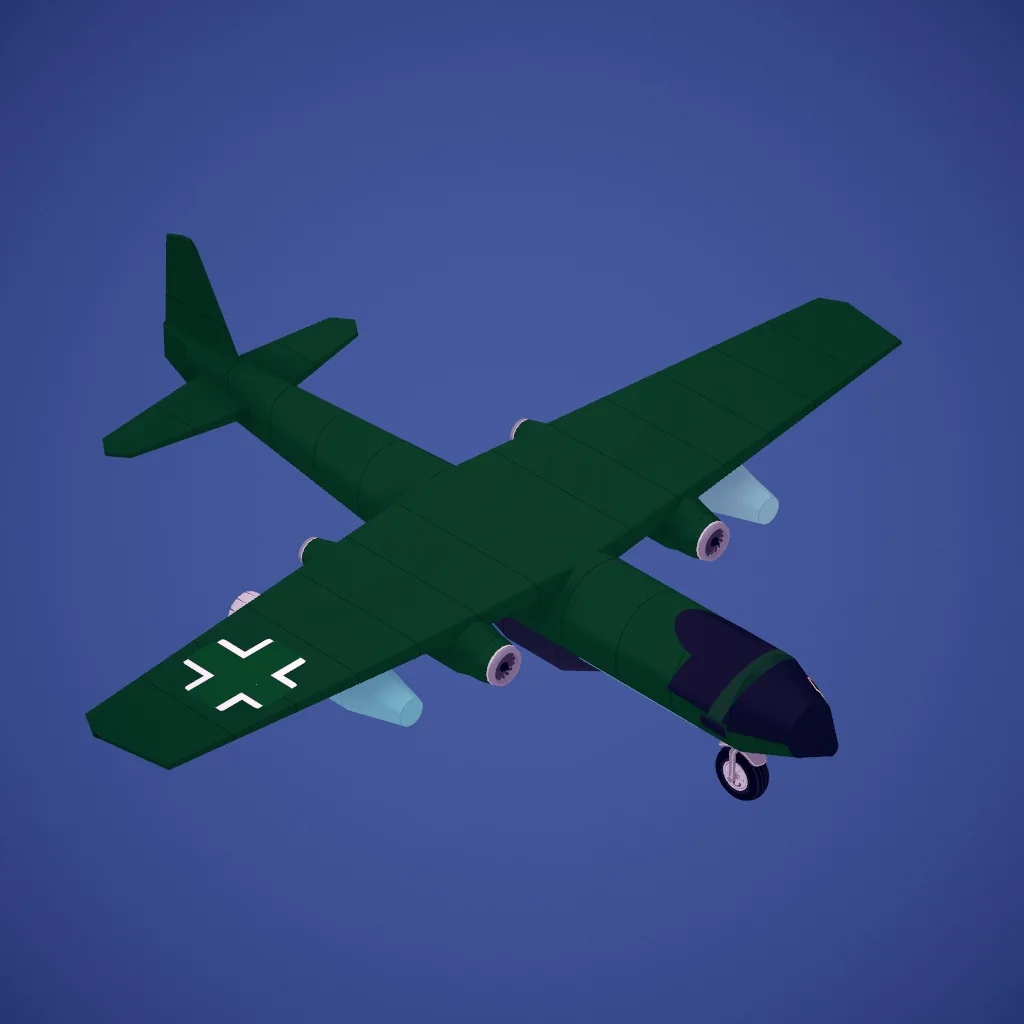
Pattern 1: the high-wing hauler
Wings mounted above the fuselage, one or two engines on the wing, cargo bay in the belly.
Why it works: the wing spar is above the payload, so the hold can be wide without the wing passing through it. Landing gear can be short, which saves weight. The high wing also gives ground clearance for rough strips.
Weaknesses: slightly less stable in roll than a low wing, and the centre of gravity moves upward when loaded, which can make the aircraft twitchy at low speed.
Best for: Grasslands and snow cargo, the early career, anything with a 300 litre hold.
Pattern 2: the twin-boom pusher
Two booms running back from the wings, tail surfaces at the end, engine and propeller behind the cockpit.
Why it works: the propeller is behind the payload, so nothing blocks it, and the booms keep the tail surfaces out of the cargo area. It is the cleanest way to build a wide-bodied lifter without a mile of fuselage.
Weaknesses: more parts, more weight, and the booms are a structural weak point in a hard landing.
Best for: heavy desert cargo where the hold has to be genuinely large.
Pattern 3: the canard
Small foreplanes ahead of the main wing.
Why it works: the foreplanes stall first, which drops the nose rather than the tail, so the aircraft tends to recover itself. It also lets you trim pitch without a huge tail.
Weaknesses: the foreplanes add drag and can blank the main wing at high angles of attack if they are too large.
Best for: short-field work where a predictable stall matters.
Pattern 4: the delta
A single triangular wing with no separate tail.
Why it works: huge internal volume and good high-speed behaviour, with pitch control from elevons on the trailing edge. It is the classic speed-record shape.
Weaknesses: poor low-speed lift, long takeoff runs, and it needs strong wing material because the whole structure is a lifting surface.
Best for: desert courier runs and anything measured in speed rather than payload.
Pattern 5: the wingless lifting body
No wings, no tail — lift comes from the fuselage and thrust vectoring.
Why it works: it does not, by conventional logic, which is exactly why the game has an achievement for completing a mission in one. Stack fuselage sections horizontally, add enough engines, and keep the speed high.
Weaknesses: everything. It is slow to turn, stalls without warning and lands like a brick.
Best for: the Wingless achievement and bragging rights. Not a career aircraft.
Pattern 6: the rotor hybrid
Helicopter rotors on a fixed-wing airframe, or a pure helicopter with a cargo sling.
Why it works: vertical takeoff from strips that no fixed-wing aircraft can use, including the four ships added in Update 5. Rotors do not care about runway length.
Weaknesses: slow cruise, high fuel burn, and the transition between hover and forward flight is where most builds fall out of the sky.
Best for: ship landings, rescue-style missions and the helicopter-specific achievement chain.
When you see a design you like on the Workshop, copy its proportions first: wing position relative to the centre of mass, tail moment arm, engine spacing. Those ratios transfer to your own parts list; the specific components do not.
Layout rules that apply to all six
Keep mass near the wing. A heavy cockpit at the nose and a full hold at the tail makes an aircraft that pitches wildly as fuel burns. Centre the payload over the spar.
Give the tail a long moment arm. Short tails need bigger surfaces and respond more sharply. Moving the tail back is usually cheaper than enlarging it.
Match engine spacing to the wing. Engines mounted far outboard increase roll inertia and make single-engine flight harder to control.
Leave room to grow. A design that is already at its weight limit has nowhere to go when you unlock a better engine.
Testing a new design
Fly it empty first. If it cannot trim straight and level at cruise, it will not improve with cargo. Then fly it at maximum payload on the shortest route you have. If takeoff is marginal, do not take it to a short strip — rebuild instead.
The best plane guide→ turns these patterns into three complete aircraft, and the parts page→ explains what each component contributes.
FAQ
Can I save designs? Yes. Aircraft are saved locally and can be uploaded to the Steam Workshop, and Workshop designs appear in a separate tab in the load panel.
Do designs transfer between saves? Saved aircraft are available across saves, and Steam Cloud keeps them synced between machines.
What is the best beginner design? The high-wing hauler. It is forgiving, cheap and covers the first two biomes without modification.
Official source: Steam store page ↗ and patch notes ↗; in-game values checked on version 1.0.
Related Guides
- Best Plane→ — three complete aircraft from these patterns.
- VTOL→ — the vertical-takeoff variant.
- Workshop→ — community designs to study.
- Parts→ — the component trade-offs behind every layout.
Design galleries: Steam Workshop ↗. Game version: store page ↗, news ↗.